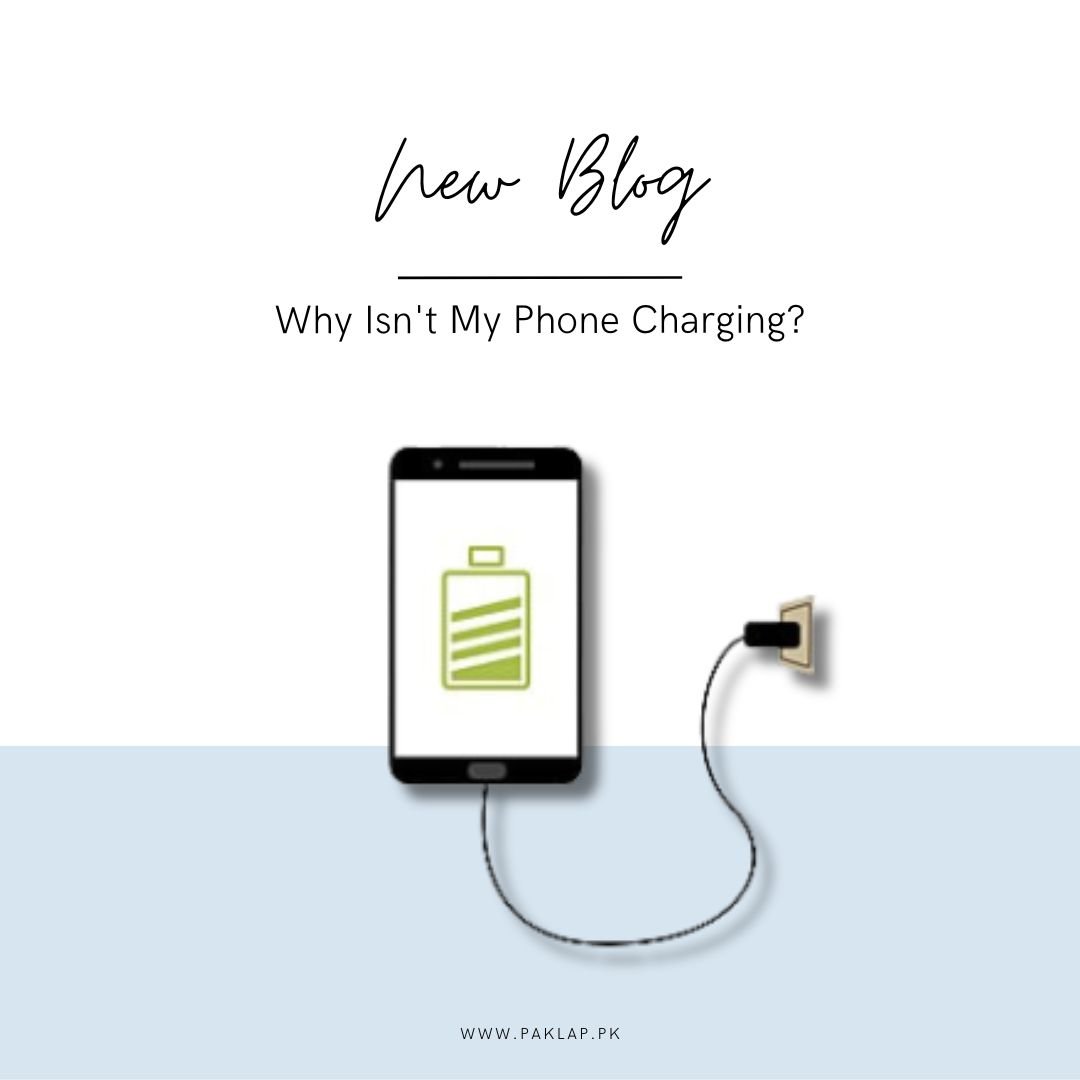
Why Isn't My Phone Charging?
Charging your mobile is like giving it a tasty snack to keep it happy and ready for action! Just like we need food to stay energized, our phones need a boost too. Imagine your phone as a little buddy who gets tired after helping you all day. Plugging it in is like tucking it into bed so it wakes up refreshed and ready for more adventures with you! So, charging is not just a task, it's a way to keep your trusty sidekick always by your side, powered up and ready for whatever comes your way.
You connect your iPhone or Android to its charger, hoping for the magical fuelling moment... but nope, nothing happens. A big sigh escapes you. From busted ports to worn-out power cords, there are loads of reasons why your mobile might refuse to charge, and not all of them are easy to fix at home.
Check the Charging Ports:
One common culprit? Your charging port – whether it's the Lightning one on the iPhone 14 Pro or the USB-C on the snazzy iPhone 15 Pro or Android pals like the Google Pixel 8 Pro or Samsung Galaxy S23 Ultra. It could be all jammed up with pocket fluff from months of adventures, making it a tight squeeze for the cord to fit in snugly. There are no covers protecting these from the daily dust and grime they encounter. Every time your phone takes a cosy trip into your pocket, it becomes a magnet for pocket fluff. And if, like me, your pockets are like a treasure trove of accidental receipts and mysterious biscuit crumbs (don't ask why), it's practically asking for trouble.
Sure, on a daily basis, it might not seem like a big deal. But as time goes by, those tiny dust and fluff particles start to team up, turning into a stubborn blockade in your port. They gather strength with each cable connection, forming a solid barrier that stops your charger from going all the way in and doing its job.
If you've had your phone for more than six months and notice your charger acting a bit finicky (especially if you have to do the wiggle dance to get it to work), chances are that dirt accumulated here is the troublemaker. So, grab a wooden cocktail stick – it's like a gentle superhero for your port, getting rid of the gunk without causing any harm to the inside bits.
How To Clear the Charging Port?
Keeping this in tip-top shape is a straightforward task that can make a world of difference. All you need is a simple arsenal: a cocktail stick, toothpick, or any slender tool that can gracefully navigate into the port. Choosing a tool made of wood or plastic is the smart move, as it minimizes the risk of inadvertently scraping against delicate internal components. I once experimented with a metal SIM removal tool, and while it did get the job done, it's not the safest choice for your phone’s well-being.
Start by delicately inserting your chosen tool into the charging port until it reaches its limit, and then commence the gentle scraping process. If your phone boasts an older iPhone with a Lightning port, feel free to move your tool back and forth. However, if you're dealing with USB-C, focus on manoeuvring around the connector nestled in the middle.
As you diligently work, you'll gradually dislodge and loosen up the compacted debris that has taken residence in your port. The satisfaction of this process is unparalleled, and you might be astonished at the substantial amount of grime that emerges. Pay attention to the sides of the port, working gently to avoid scraping against the vital metal connectors.
Once you've successfully evicted most of the unwanted guests from your port, assessing whether you've cleared it all becomes a bit of a challenge due to the limited visibility deep within the port. However, armed with a good light source, you can attempt a careful check. When you're content with the cleanliness achieved, plug in your cord, and witness the magic unfold as your mobile resumes its charge-hungry duties with newfound vigor.
With any luck, it should now connect more firmly and kickstart the recharging process. If not, continue attempting to remove additional dirt and then give the charger another test. If the problem persists despite your efforts, it's a good moment to explore alternative solutions, such as getting a new cable or charger.
Check Out the Charging Cable
When faced with the frustration of a mobile not fuelling up, it's essential to consider various factors, and one of the initial elements to scrutinize is the cord. This is especially important if the cable has been a loyal companion since the start of your getting that mobile, enduring the trials and tribulations of daily use. Our cords accompany us to numerous places, often falling victim to accidental steps, trips, entanglements, and the haphazard tossing into bags.
Take a moment to meticulously inspect your Android or iPhone cable for any discernible signs of damage, such as rips, bends, cuts, or general wear and tear. These visible issues are often culprits behind cord malfunctions. Additionally, it's worth conducting a simple test by attempting to charge another device with the same cable. If the cable successfully charges another device, it's likely the issue lies with your cell.
Moreover, consider employing an alternative cord to charge your smartphone battery. If a different cable resolves the issue and successfully charges your cell, it's a clear indicator that your original cable is due for a replacement.
In the event that the problem persists even after trying different cables and assessing another device, it's time to explore alternative solutions. Consider investing in a new, high-quality cable compatible with your mobile model. Quality cables are less likely to get worn down and tend to ensure a more reliable and durable experience. By taking these steps, you can troubleshoot this issue effectively and enhance the longevity of your accessories.
Check The Adapter
So, your cell is acting up on the charging front, and it's not just about the cable – that wall charger of yours is a key player too! It's like the dynamic duo of charging, working hand in hand with the cable to keep your mobile juiced up and ready for action. Let's break it down in simpler terms.
First things first, give that wall charger a good look-over. Check for any obvious issues like cracks or bent outlets. If you spot anything fishy, consider it a red flag that something might be off. You know, like a superhero with a little scratch on their cape.
Now, let's put the charger through its paces. Try using it with other gadgets in your life. See if it still packs the power punch needed to get things fuelled up. And for an extra twist, switch it out with another wall charger to see if the original one is causing the ruckus or if there's a compatibility hiccup.
If the detective work points fingers at your current wall charger being the mischief-maker, it's time to think about a replacement. No worries, we've got your back with a list of top-notch wall chargers. These are the heroes of the charging world – not only do they get the job done, but they also play nice with various devices. Your reliable charging sidekick, if you will.
Now, I get it – the world of wall chargers can be a bit overwhelming. So, we've whipped up a guide to help you pick the perfect charger for your specific model. It's like having a friendly GPS to navigate through the charging jungle, considering stuff like speed and compatibility to make sure you pick the one that suits your needs.
In the end, when your cell is playing hard to charge, don't forget to give both the cable and wall charger a fair shake. By looking into these buddies and exploring alternative options, you'll crack the code and make sure your Android or iPhone stays happily charged up for all your adventures!
Use a Wireless Charger
If your cell is equipped with wireless charging capabilities and you happen to own a wireless charger, here's a straightforward method to troubleshoot and determine if the issue lies with the mobile’s port or accessories. Simply give wireless charging a go – attempt to charge your Android device or iPhone wirelessly. This not only serves as a diagnostic step but can also offer a temporary solution to keep your cell operational while you delve into identifying and resolving the underlying problem.
By opting for this, you bypass the traditional cable-and-port connection, providing an alternative route to power up your device. This approach helps discern whether the issue is rooted in the physical port or associated accessories. If your mobile successfully charges wirelessly, it's a strong indicator that the port or cable may be the culprit causing the hiccup in the traditional process.
Embracing wireless charging as a temporary fix allows you to maintain your mobile’s functionality while you embark on a deeper investigation into the problem. It's like giving your mobile a breather, a different method of getting the energy it needs without relying on the usual setup. This can be especially handy in situations where time is of the essence, and you need your cell to stay powered up.
However, if the wireless attempt doesn't yield positive results and your phone remains unresponsive, it could signify a more substantial battery-related issue. In such cases, seeking professional assistance or exploring more advanced troubleshooting steps may be necessary to identify and rectify the underlying problem. Nevertheless, the wireless test serves as a valuable initial checkpoint, guiding you in the right direction to ensure your cell stays up and running smoothly.
Check The Power Source
Here's a down-to-earth and easy way to troubleshoot if your device isn't charging: plug something else into the same outlet you're using for your device and see if it works. It's like giving the outlet a little test run to make sure it's doing its job. Sometimes, outlets can go on a fritz or certain areas of your home might be having a bit of an electric hiccup. If you notice any issues with the outlet, no need to panic – just try other outlets around the house to see if they're in better shape.
Now, let's talk about those folks who are trying to charge their devices using a USB port on a computer or a power strip. Well, here's the scoop – these USB ports might not be dishing out the power your trusty smartphone craves. It's like expecting a tiny sip when your device is ready for a full gulp. So, here's a friendly suggestion: switch to a good old regular outlet and see if that takes care of your charging blues. It's like giving your device the VIP treatment it deserves, ensuring it gets the proper charge it needs without any hiccups.
Remember, troubleshooting these issues can be as simple as testing different outlets or opting for the classic charging spot. So, the next time your mobile is playing hard to charge, just give it a try – it might be as easy as changing its charging scenery!
Get Your Battery Checked
Your battery could be in bad shape. For certain Android users, the issue might be the actual battery inside the device. Depending on your model, you might be able to examine the battery on your own, but for many, a trip to the repair shop is in order.
To get this sorted, head over to your phone manufacturer's website and find an authorized service centre near you. Let a certified technician inspect your battery and figure out what's going on.
Check The Phone Case
Examine the case – it might be the culprit. Certain cases can hinder the cable from fully fitting. If you're facing charging issues, take a peek at the port and assess whether the case is obstructing a snug connection. If that's the case, remove the cover. Experiment with different Android cases; some might offer a better fit. It's like giving your device some breathing space to connect seamlessly with the cable. This small adjustment could be the key to resolving your woes, ensuring a proper and unobstructed link. So, if your phone seems stubborn about recharging, a quick check on the case might be the simple solution you need for a smoother and more effective experience.
Try Restarting the Phone
Give your phone a reboot if it's acting up. Occasionally, the operating system can get a bit glitchy, causing hiccups in the fuelling process. To troubleshoot, power off your phone, wait a minute or so, and then power it back on. It's like giving your phone a quick nap to refresh its system and shake off any glitches that might be messing with the powering function. This simple restart can often work wonders, resolving minor issues that could be hindering the process. So, if your phone is being a bit temperamental when it comes to this, a restart might just be the swift and easy fix you need to get it back on track.