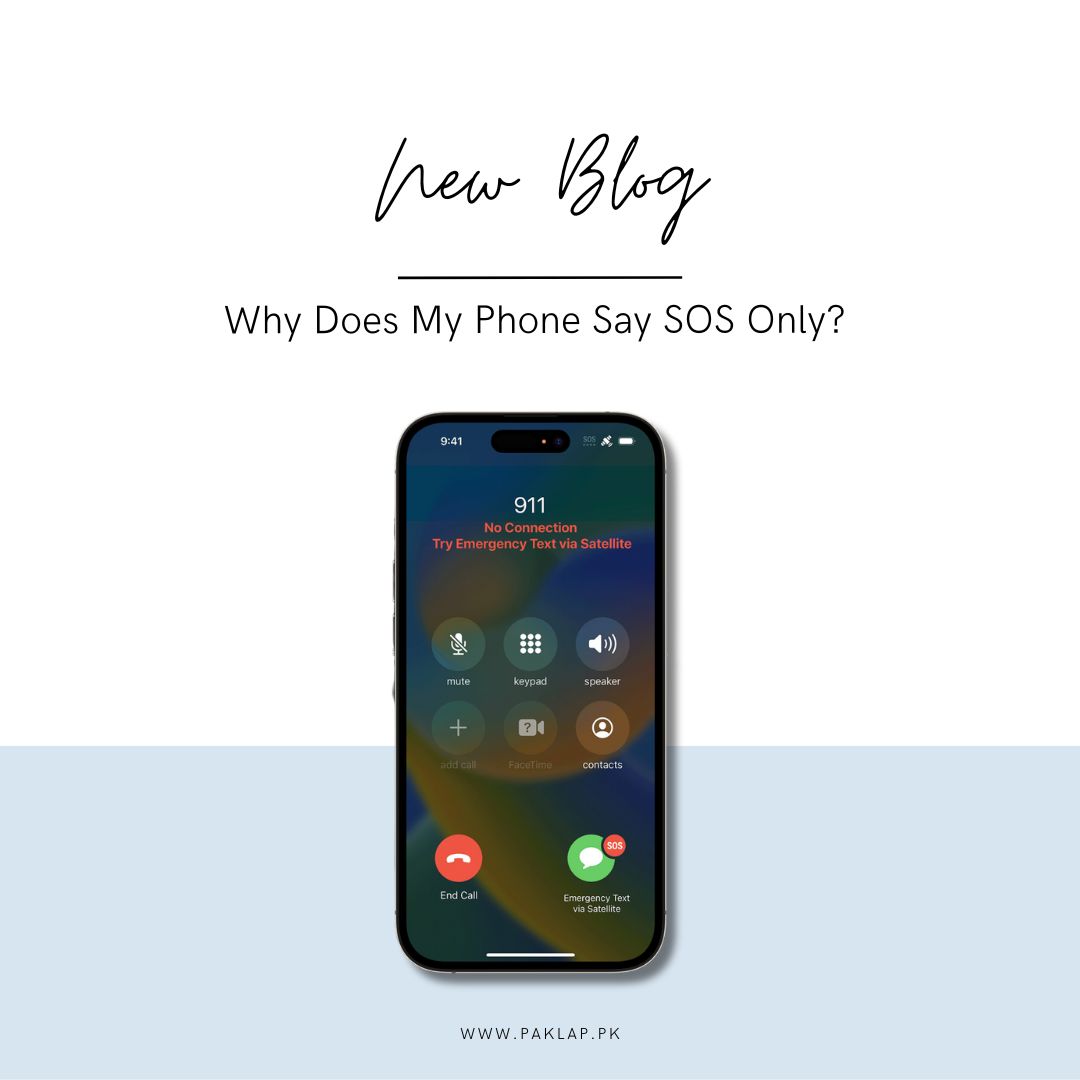
Why Does My iPhone Say SOS Only? How to Fix it?

If your phone displays "SOS" or "SOS Only" instead of the usual mobile status, it means your device is struggling to connect to a network. This could be due to poor signal strength or other issues. Check your surroundings for better reception or troubleshoot problems to restore a stable connection.
What Does ‘SOS Only’ Message Indicate?
If your phone displays the message "SOS Only," it signifies that your device has a restricted connection, allowing only emergency calls.
This means that even though your phone is connected to a network, it can't do everything it usually does, like making calls, sending texts, or using mobile data.
The "SOS Only" status limits your cell's functionality to emergency calls only, highlighting the limited connectivity.
During such instances, you can still utilize Wi-Fi and Bluetooth connections, but the ability to access mobile data is compromised. This condition often arises due to factors such as poor signal strength or issues, restricting the phone's normal functions. To address this, you may need to improve your surroundings for better signal reception or troubleshoot problems to restore a complete and stable connection, allowing your phone to regain its usual range of services beyond emergency calls.
Top 6 Reasons for This:
Your cell might show the "SOS Only" status message for various reasons. Below is a list along with detailed explanations of potential causes for this status:
1. Network Maintenance or Service Disruption:
When providers conduct maintenance or experience temporary outages, your phone may exhibit this status. This occurs when regular services become temporarily unavailable, prompting your device to switch to emergency-only mode.
Periodic maintenance is a routine practice for mobile carriers to enhance service quality and address technical issues. During such maintenance activities, certain functionalities may be temporarily suspended, causing your phone to show this specific statement as it can only access emergency services.
Additionally, unforeseen outages, which could result from technical glitches or external factors, may trigger the same status on your device. These outages can disrupt the usual cellular services, restricting your cell to emergency calls only until the network is restored to normal operation.
2. Unresolved Payment Issues:
Occasionally, if you neglect to settle your bill or encounter problems with your account, your mobile carrier may limit your access to regular services, permitting only emergency calls. This restriction is indicated by the appearance of this status on your cell.
Failure to make timely payments for your mobile services can result in a suspension of regular privileges as a consequence. When this happens, your device is relegated to emergency calling mode, ensuring that you can still make essential calls even with unsettled payments.
Moreover, if there are problems with your account, like mix-ups, mistakes, or if you've missed payments, your phone company might put limits on its ability to connect.
To rectify this, resolving outstanding payments and addressing any account-related concerns with your mobile service provider is crucial. Once the payment is made or the account issues are resolved, your device will regain full access to standard services, and the "SOS Only" status will no longer persist. Regularly managing and settling your mobile bills helps maintain uninterrupted access to the complete range of cellular services.
To navigate this situation, it's advisable to wait patiently for the maintenance or outage to conclude. Once the network is back to full functionality, your device will regain access to regular services, and this status will no longer be displayed.
3. SIM Card or Network Registration Challenges:
On certain occasions, encountering complications with your SIM card or facing difficulties in registration may result in the display of this message on your device.
Problems associated with the SIM card, such as improper insertion, damage, or issues with authentication, can trigger the limited connectivity represented by the "SOS Only" status. Your phone's ability to access regular cellular services becomes constrained due to these challenges with the SIM card.
Additionally, issues related to registration, where your phone establishes its connection to the mobile network, can contribute to the appearance of the "SOS Only" message. Failures in the registration process may limit your device to emergency calling capabilities until the registration concerns are addressed.
In such scenarios, inspecting the SIM card for proper placement, and potential damage, or attempting to re-register on the network can help resolve the issue. Addressing this SIM card or registration-related challenges will restore your full access to regular services, eliminating this particular status. Regularly ensuring the proper functioning of your SIM card is essential for maintaining seamless connectivity.
4. Challenges with Roaming:
While you are in a foreign country, encountering situations where your phone exhibits the "SOS Only" status could be attributed to roaming issues. This typically occurs when your device lacks a roaming agreement with local carriers in the country you're visiting, or if your service provider hasn't activated the roaming functionality. The incoming message serves as an indicator that your phone retains the capability to make emergency calls but is unable to establish a connection with the local network for regular usage.
Essentially, this condition arises from bureaucratic reasons—specifically, the absence of a roaming agreement or the non-activation of roaming functionality by your service provider. The network infrastructure is present in the foreign location, allowing for potential connectivity, but your device is restricted to emergency calling due to the absence of the necessary agreements or settings.
Resolving this issue involves addressing the roaming settings with your service provider before travelling or upon arrival in a foreign country. Activating roaming services and ensuring compatibility with local carriers through proper agreements will enable your cell to access regular services. It's essential to be proactive in confirming these arrangements to prevent inconvenience and ensure seamless connectivity while abroad. Understanding and addressing roaming issues in advance contributes to a more reliable and comprehensive mobile experience when travelling internationally.
5. Absence of Signal:
The occurrence of this status may be as straightforward as finding yourself beyond the reach of your mobile carrier's network.
When you are situated in an area characterized by weak or non-existent coverage from your mobile carrier, your device may exhibit this message. This status arises because your device can solely establish a connection with emergency services. Emergency services are designed to function with minimal data throughput, ensuring availability even in remote or isolated locations.
The underlying reason for the "SOS Only" status in such cases is the insufficient signal strength to support regular cellular services like calls, text messages, or data. Your cell resorts to the emergency-only mode as a means of providing a lifeline for critical situations, where the minimal data requirements enable communication in areas with limited infrastructure.
It is essential to recognize that this scenario is often encountered in remote or sparsely populated regions where establishing a strong and consistent signal proves challenging. The limited coverage prompts your phone to prioritize emergency calling capabilities, ensuring that you can still reach out for help even in locations where standard services may be compromised.
To address this situation, one might relocate to an area with better reception or wait until moving to a more populated region with improved coverage. Understanding the geographical constraints of signals is vital in navigating this particular status, allowing users to adapt their expectations and actions based on the available infrastructure in a given location. Regularly checking signal strength and being aware of limitations in specific areas contribute to a more informed and seamless mobile experience.
6. Possible Technical Hiccups:
Sometimes, you might end up with this message due to a bunch of other technical hitches. It's like your device is having a bit of trouble behind the scenes – maybe a glitch in its software, a hiccup in its hardware, or some internal confusion.
Think of it as your cell’s way of saying, "Hey, something's not quite right in here!" These technical malfunctions could range from small software bugs messing with the system to deeper issues with the hardware that makes it tick. When these things act up, they can mess with your device’s ability to talk to the mobile like it usually does.
Fixing these quirks might involve checking for software updates, doing a bit of troubleshooting, or even seeking expert help if things get really tricky. Making sure your software is up-to-date and playing nice with the network can often help prevent these technical tantrums.
It's all about giving your device a little TLC – a touch of software cuddling and a bit of hardware pampering to keep everything running smoothly. Regular check-ups and staying on top of updates can make your cell happier and less likely to throw up that sign. So, if your device is acting a bit off, it might just need a bit of human-like care to get back to its usual chatty self!
How To Fix SOS only issue on an iPhone?
1. Relocate to an Area with Improved Network Reception:
When you find yourself in a location with limited or no coverage, resolving this issue on your iPhone isn't something you can directly address. In such situations, the primary solution is to physically move to a different area or environment where connectivity is stronger.
If you happen to be in an area known for robust coverage, and others around you are successfully connected while you encounter this status, you can take proactive steps to troubleshoot the issue on your iPhone. In this case, consider implementing the following steps to deactivate this status and restore your regular network services.
It's essential to acknowledge that when faced with low or no network coverage, your iPhone may struggle to establish a reliable connection. Moving to a place with better network reception ensures a more stable and consistent connectivity experience. Conversely, if you're in an area where others are enjoying seamless connectivity, trying the suggested steps below becomes a practical approach to resolving the "SOS Only" situation on your cell.
2. Restart Cellular Data to Resolve SOS Only on iPhone:
If your iPhone is stuck in the SOS-only state, it may be grappling with a network error. A simple yet effective troubleshooting step is to turn off and then on Cellular Data, prompting a fresh connection attempt and often resolving the issue. Here's a step-by-step guide to help you with this process:
Step 1:
Navigate to your iPhone's Settings and tap on "Cellular" or "Mobile Data," depending on your iOS version.
Step 2:
Toggle off the "Mobile Data" option.
Step 3:
Pause for a few seconds, allowing the connection to reset, and then toggle on the "Cellular Data" or "Mobile Data" option again.
As an alternative method, you can access the Control Center by swiping down from the top right corner (or up from the bottom, depending on your model). Locate the Cellular Data icon and tap it to disable the feature. Wait for a few seconds before tapping it again to re-enable it.
This straightforward procedure acts as a kind of reset for your network connection, potentially resolving any glitches that led to the "SOS Only" status. By toggling off and on Cellular Data, you initiate a fresh attempt to establish a connection, giving your device a chance to overcome network errors and return to regular functionality.
Remember, if you're facing persistent issues despite these steps, it's advisable to explore additional troubleshooting options or seek assistance from your service provider for further guidance.
3. Activate Data Roaming to Bid Farewell to SOS on iPhone:
When your cell stubbornly displays this status, the hidden villain could be the deactivated roaming option. Especially during travels, it's essential to inspect and potentially enable this setting before exploring further solutions.
Here's a step-by-step guide to assist you:
Step 1:
Begin by opening Settings and tapping on "Cellular" or "Mobile Data," depending on your iOS version.
Step 2:
Navigate to "Cellular Data Options" or "Mobile Data Options."
Step 3:
Engage the toggle switch to turn it on.
By taking this action, you might witness the transformation of your status bar from the foreboding SOS to the more reassuring indicators of 4G or 5G connectivity. This seemingly small adjustment can have a significant impact, especially when traversing different regions or countries.
Consider this as granting your iPhone a passport to roam freely across networks, ensuring that it can gracefully transition between carriers and embrace the optimal connectivity available. The SOS-only scenario could be averted with the activation of Data Roaming, offering a seamless mobile experience even when venturing beyond your home network.
So, if you find yourself amidst this enigma, a quick check and toggle of the Data Roaming setting might be the key to unlocking a world of unhindered connectivity. It's akin to giving your cell the green light to explore and connect wherever your journey takes you.
4. Opt for 4G or LTE for Enhanced Connectivity:
In the quest to bid farewell to the SOS-only status on your device, consider making a strategic move by switching to the reliable embrace of 4G or LTE. Given the global variability and potential impact on signal strength and connection by the still-evolving 5G technology, opting for the tried-and-true 4G can be a prudent choice. Here's a step-by-step guide to navigating this:
Step 1:
Navigate to Settings and tap on "Cellular" or "Mobile Data," depending on your iOS version.
Step 2:
Access the "Cellular Data Options" or "Mobile Data Options."
Step 3:
Choose the "Voice & Data" or similar option, and then select "4G" or "LTE" as your preferred network mode.
The rationale behind this recommendation is grounded in the current state of 5G deployment, which might not offer uniform coverage globally. Disabling 5G and opting for the more established 4G ensures a stable and consistent connection, particularly if the SOS-only issue persists.
This adjustment allows your cell to operate within a network environment that aligns with the prevailing connectivity standards, minimizing potential disruptions. While the promise of 5G is exciting, practical considerations sometimes warrant sticking with the reliability of 4G for a seamless and uninterrupted mobile experience.
So, if the SOS challenge lingers, making the conscious choice to switch to 4G or LTE on your iPhone could be the key to unlocking a more reliable and consistent connection, allowing you to enjoy your device's full range of capabilities without the ominous SOS-only message.


