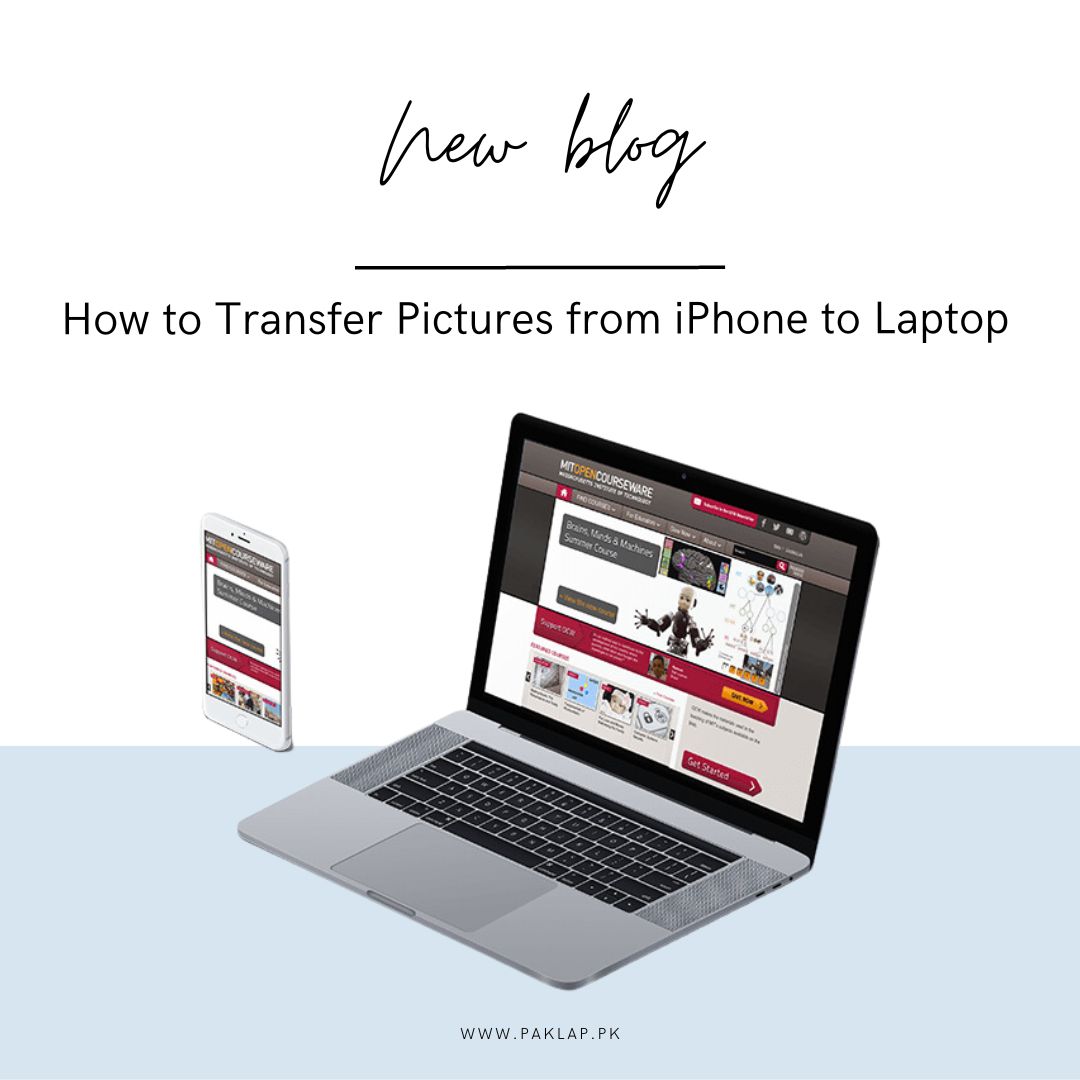
How to Transfer Pictures from iPhone to Laptop
It's a familiar story: You take all these great photos with your iPhone, and then you want to upload them to your laptop so you can do some creative editing on them or just store them away in case you need them later. But transferring these pictures is never as easy as it sounds. It is time-consuming, tedious, and seems to take forever. But it doesn't have to be that way!
In this blog, we are going to show you the easiest way to transfer pictures from your iPhone to your notebook in just a few simple steps. You don't need any fancy software or hardware, all you need is your trusty iPhone and laptop, plus a stable internet connection and a few minutes of free time. Let's get started!
Using iCloud Photos
One of the easiest ways to import your pictures from your iPhone to a laptop is through iCloud. Make sure that your iPhone and laptop are both connected to the same Wi-Fi network before you begin. Once that is done, here are the steps you will need to follow:
- Open the Settings app on your iPhone and select “iCloud”.
- Tap “Photos” and make sure “iCloud Photos” is turned on.
- On your laptop, open a web browser and log into iCloud using the same Apple ID you used for your iPhone.
- To transfer pictures from your iPhone, click "Photos" and then select the pictures you want.
- Click on the download button or drag them straight into a folder on your laptop's desktop or hard drive.
- Once all of your pictures have been downloaded, they will appear in any folder you selected when downloading them from iCloud onto your notebook.
By following these simple steps, you can transfer images quickly and easily from your iPhone to a laptop without having to use any additional hardware or software.
Transferring Pictures from iPhone to Windows Laptop
Moving photos from your iPhone to a Windows notebook is simple. You only need to perform a few simple steps to be ready to go. Here's how you do it:
- Use the USB cable that came with your iPhone to connect it to your laptop.
- On your notebook, open the Photos app for viewing snaps on the device.
- After starting the Photos app, choose "Import" from the top menu.
- Select “From a USB device” which will prompt Windows to search for devices that are connected via USB cable and show thumbnails of any images or videos stored on them.
- Select all the snaps or videos you want to import by ticking off each one in the list or checking the box at the top right that selects all items in the list at once.
- Click “Continue” and Photos will now transfer those items into Photos on your computer, where they can then be easily shared with friends online or stored for future use.
Another option for transferring pictures from your iPhone to a notebook is using iTunes.
- Connect both devices with the USB cable that came with the phone, then launch iTunes on the notebook.
- On the left side of the window, select your device icon; under “Settings” choose “Photos”
- When prompted, select “Sync Photos”
- Finally, choose which albums or images you would like to sync.
- When finished, click "Apply" and all of your chosen images will be transferred to the notebook.
Transferring Pictures from iPhone to Mac
Apple makes it easy to wirelessly transfer pictures and videos from your iPhone camera roll to your Mac or PC. All you need is iCloud or iTunes and you will be ready to go. If both of your devices run the most recent operating system, using iCloud is a good choice. This method takes only a few steps: first, make sure both devices are connected to the same Wi-Fi network; then, open your iPhone and navigate to Settings - Photos - iCloud Photos; finally, toggle on “iCloud Photos” so that all of your images will be uploaded. To view them on your notebook, just open iCloud.com and sign in with the same Apple ID used on the iPhone.
Other Options for Moving Photos from an iPhone to a Laptop
One of the options for transferring pictures between an iPhone and a notebook is emailing them. On your phone, select the images you want to send (you can select multiple images at once), tap on the share icon at the bottom left of the screen, and choose email. Then just enter the address of your email account (or someone else’s if you wish) and hit “Send”. Finally, open up that email account on your notebook, download all of those images and voilà they are saved right onto your notebook!
There are plenty of other ways to import images from an iPhone to a notebook like using AirDrop or messaging apps like WhatsApp or WeChat, the choice is yours.
Conclusion
All in all, transferring pictures from your iPhone to your laptop is a super easy process if you have the right tools. Whether you use a cable, iCloud, iTunes or AirDrop, you will be able to seamlessly back up your images and get them over to your laptop in no time. Just make sure you have the correct cable, or if you are using iCloud or AirDrop, that you are signed into the same Apple ID on both your phone and laptop.
In the end, transferring pictures from your iPhone to your laptop is a great way to back up your memories and free up your storage. And with tips like the ones we have provided here, it is easier than ever before. Visit Paklap for more information.