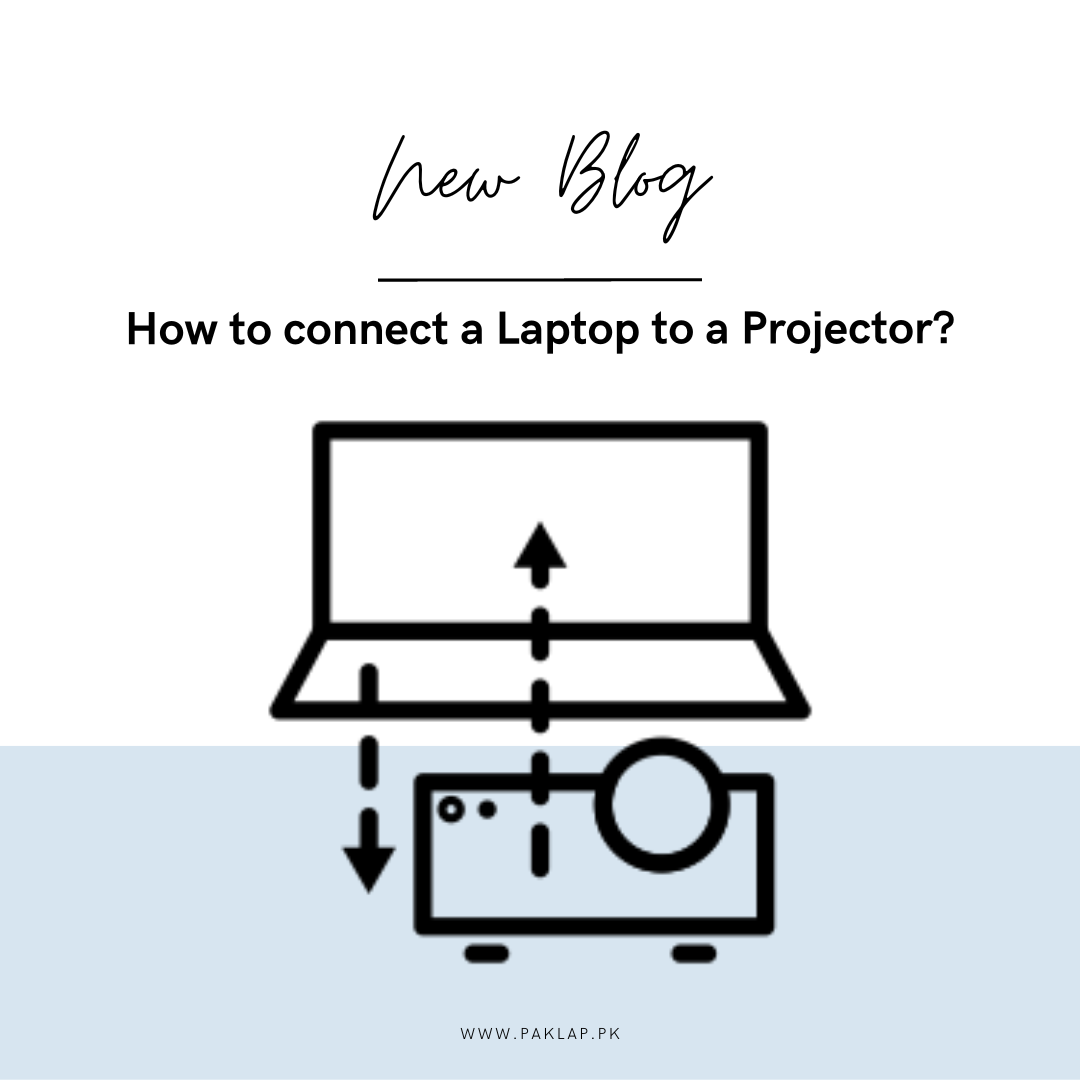
How To Connect Laptop to Projector?
Connecting a laptop to a projector might sound like a daunting task, but don't worry – it's much easier than you might think! Imagine you're getting ready for a big presentation at school or work, or perhaps you're planning a movie night with friends and want that cinematic experience. That's where this guide comes in handy, making this tech adventure as smooth as butter on a hot pan.
In our digital age, combining a laptop and a projector can be like having a magic wand for sharing information or immersing yourself in entertainment. Whether you're tech-savvy or a complete newbie, we've got your back with simple advice and easy-to-follow steps. You'll soon be connecting these devices like a pro without any head-scratching moments.
We're going to dive into all the different ways to make this association happen, from classic cables like VGA and HDMI to wireless wizardry like Miracast and Apple AirPlay. Adjusting display settings won't be a mysterious ordeal anymore, and pesky problems? We'll help you troubleshoot them like a champ. Plus, we'll share tips to enhance your setup so your visuals are top-notch.
Our goal is to make you feel confident and capable in the world of tech. Whether you're preparing to wow your audience, have a cozy movie night in mind, or just want to level up your tech game, come along with us on this journey. We're here to help you unravel the secrets of binding a laptop to a projector so you can unlock a world of possibilities with ease.
Do You Need an Adapter to Connect a Laptop to a Projector?
Do you find yourself in the curious realm of laptop-to-display bonds, wondering if adapters are your new best friend or just an unnecessary addition to your tech arsenal? Don’t worry, for we're here to decode this enigma in a friendly, accessible manner.
So, the burning question: Do you need an adapter to bridge the gap between your trusty system and the formidable display? Well, it's a digital dance, dependent on the ports that your system and display flaunt.
Let's start with straightforward scenarios. If your system boasts a full-sized HDMI port and your display mirrors this with its own HDMI port, you're in luck – no adapters needed! HDMI, that glorious high-definition multimedia interface, offers the simplest path to link your system and screen seamlessly.
Now, what if your system decides to flaunt a mini HDMI port? Fear not; these mini marvels are essentially the same as regular HDMI ports, just more compact. To bridge the gap, you can either snag a trusty cable with HDMI on one end and mini HDMI on the other or opt for an adapter, making sure your connection is as snug as a bug.
Enter the world of DisplayPort. While these are more commonly found on desktop video cards, your system might have one, too. In that case, you can still make the magic happen with either an HDMI-to-DisplayPort cable or if you prefer versatility, an HDMI-to-DisplayPort adapter.
Now, let's talk about the trendy USB-C. If your system prefers to communicate via USB-C, you'll typically require a lifeline in the form of a dock housing an HDMI port or a trusty USB-C to HDMI adapter. However, some projectors are keeping up with the times and do support USB-C video input, giving you the option to link directly using a USB-C cable.
But what about the vintage VGA? If your system and projector both proudly rock VGA ports, you're in business! A VGA cable will link them together without the need for an adapter. However, there's a small caveat: while VGA is great for video, it doesn't transmit sound like its modern HDMI counterpart. So, you'll need to concoct an alternate audio plan to serenade your audience.
In this digital era, adapters can be your trusty sidekicks, ensuring that your system and projector communicate harmoniously. So, fret not, for you are now equipped with the knowledge to navigate the labyrinth of laptop-to-projector connections with confidence and ease.
How To Connect Laptop to Projector via Bluetooth?
Utilizing Bluetooth connectivity with Windows 10 is a convenient and efficient way to link your computer to a projector. In this user-friendly yet professional guide, we'll walk you through the steps to make this seamless merge.
Step 1: Power On
To begin, ensure that both your machine and computer are powered on. This is the essential first step to initiate the connection.
Step 2: Activate Pairing Mode
Next, it's time to put your viewing device into Pairing Mode. Most imaging devices have a dedicated button, either on the projection equipment itself or on the accompanying remote, that activates Bluetooth and makes it discoverable. However, for precise instructions, always refer to the equipment's user manual.
Step 3: Establish the Bluetooth Connection
Let's commence the Bluetooth pairing process between your computer and the visual equipment. You'll find detailed guidance on how to pair via Bluetooth in our guide titled "Connecting PC to Bluetooth." In essence, this procedure involves accessing the Bluetooth center in your taskbar and selecting the viewing gadget for pairing. During the initial pairing, you might be prompted to confirm a series of numbers or enter a passcode to ensure a secure tie.
Step 4: Configure Display Settings
Once the Bluetooth connection is successfully established, it's time to configure your laptop and settings for the viewing equipment. To do this, press the Win+P keys on your computer keyboard. A menu of screen-sharing options will appear on your computer, giving you the flexibility to choose how you want to utilize the display:
PC Screen Only:
Select this option if you want to keep your computer private, with no projection to the external screen.
Duplicate:
Selecting this allows you to replicate the content from your computer screen onto the device. Whatever is visible on your computer will be mirrored on the display screen.
Extend:
Opt for this choice if you desire to utilize the viewing equipment as an additional workspace linked to your computer. This configuration provides more display, but you'll need to drag items from your laptop's screen to the projection area.
Second Screen Only:
If you want to share everything exclusively up there, leaving your computer visually blank, this is the ideal choice.
With these steps, you'll seamlessly link your computer via Bluetooth, opening up a world of possibilities for presentations, entertainment, and more. Happy projecting!
How To Connect Laptop to Projector via Cable?
In a world increasingly driven by digital technology, the ability to merge a computer with a viewing screen has become an essential skill. Whether you are a student, a business professional, or a home entertainment enthusiast, this skill empowers you to share ideas, deliver compelling presentations, and immerse yourself in a cinematic experience. Through this comprehensive guide, we have unraveled the mysteries of this seemingly complex process, breaking it down into manageable steps and providing valuable insights.
Connecting your laptop to a projector using a cable is a straightforward process that opens the doors to a world of visual possibilities. Whether you're preparing for a presentation or gearing up for a movie night, understanding this method is essential.
First things first, you'll need a cable – HDMI, DVI, or VGA, depending on your system and visual support. Identifying the cable is crucial; it'll be your bridge between the two devices. Most often, the ports on your system and screen will be labelled, making it a breeze to match them up. But if they're not labeled, don't worry. Simply observe the shape of the cable and plug it into a port that looks identical with the help of the description from the above passage.
Now, let's dive into the nitty-gritty of system ports. The VGA port is a common sight on laptops, featuring three rows of five holes each. If your system lacks a VGA port, you're likely to find an HDMI port as a reliable alternative. However, if your system surprises you with neither of these options, fear not – you can acquire a VGA or HDMI adapter from an electronics retailer to bridge the gap.
Now, here's a tech tidbit: some Windows laptops support Miracast. If your visual is on board with this wireless magic, too, you can bid those cables goodbye. To check if your Windows system supports Miracast, simply search for and open the Connect app – it's that easy.
With your cable and laptop in hand, it's time to turn on your screen and system. Both need to be awake for the magic to happen.
Now, for the final act: press the Win+P keys on your system and a menu of sharing options will grace your screen. You'll have a quartet of choices:
PC Screen Only:
This option keeps your computer private, with no projection to the big screen.
Duplicate:
Select this to mirror everything from your computer onto the device. The audience views precisely what is displayed on your system, projected on the larger screen.
Extend:
This feature regards this equipment as a seamless expansion of your laptop's display, providing extra room for showcasing your content. To display items on the projection, you'll need to move them from your computer screen.
Second screen only:
Opt for this if you want to display everything on the viewing device alone, with nothing appearing on your computer screen.
And there you have it – a step-by-step guide to connecting your system to the display device using a cable. With this knowledge in your tech toolbox, you're all set to dazzle your audience or create the ultimate cinematic experience.
One of the primary takeaways from this is the importance of understanding the ports and cables that bridge your computer and projector. The type of cable you need depends on the ports available on both devices. While HDMI, VGA, and DisplayPort are common options, it's crucial to match the cable to the ports to ensure a successful connection. We've emphasized the significance of cable compatibility and offered solutions, such as adapters, when faced with incompatible ports.
We've delved into the software aspect of the connection process. Windows 10 offers various display options that allow you to tailor your presentation to your specific needs. You can choose to mirror your laptop on the screen, extend your desktop for more workspace, or use the device as the primary source while keeping your laptop display off. These options cater to diverse scenarios, whether you're delivering a lecture, showcasing multimedia content, or multitasking during a business meeting.
End Note
In the ever-evolving landscape of technology, it's worth noting that projectors themselves have evolved significantly. Modern visuals offer high-definition visuals, enhanced brightness, and advanced connectivity options. Some projectors even support 4K resolution, transforming your presentations and movie nights into truly immersive experiences. Staying up to date with projector technology can greatly enhance the quality of your presentations and entertainment.
We've emphasized the significance of understanding and troubleshooting potential issues. Technology is not without its challenges, and users may encounter problems like display resolution mismatches, audio transmission issues, or signal disruptions. However, armed with the knowledge provided in this guide, you can confidently tackle these issues, ensuring a smooth and glitch-free experience.
Ultimately, the ability to attach a computer to viewing equipment is not just about the hardware and technicalities; it's about unlocking the potential for creativity, communication, and engagement. It's about transforming a standard computer into a powerful tool for sharing ideas, making a lasting impression, and enjoying entertainment on a grand scale. It's a skill that bridges the gap between the digital and physical worlds, allowing you to bring your content to life, whether you're in a classroom, a boardroom, or your own living room.
As technology continues to advance, the possibilities for laptop-to-projector links will only expand. New innovations will make the process even more seamless and user-friendly. Yet, the fundamental principles we've explored in this guide will remain relevant, serving as the foundation for sharing in an increasingly interconnected world.
In conclusion, linking a computer to a screen is a skill that empowers individuals to share their ideas and experiences on a larger canvas. It's a skill that facilitates effective communication and enhances entertainment. By understanding the hardware, software, and troubleshooting aspects of this process, you are well-equipped to harness the full potential of this technology. So, go ahead, connect your computer to a projector, and let your ideas shine on the big screen.