
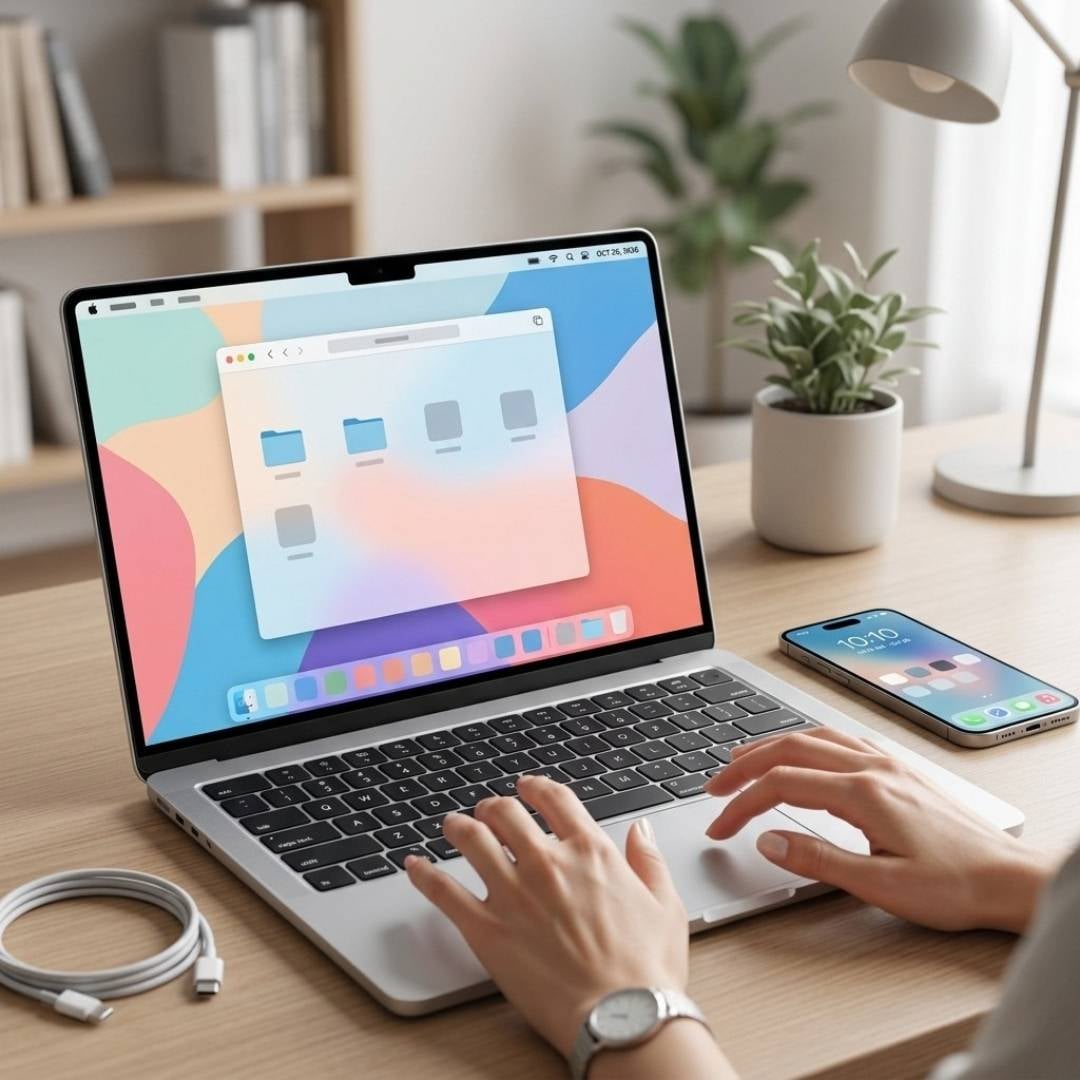
After 10+ years of Android, you just switched to Apple and unboxed your first iPhone. Or maybe you bought your first-ever MacBook after using a Windows laptop for the longest time. Now everything feels different. You cannot find settings, there’s no back button, and you keep getting prompts for an Apple ID you don’t understand. It’s a different world altogether.
First-time users initially struggle with iOS and macOS navigation, Apple ID setup, ecosystem troubles, file management, and app differences across MacBook, iPhone, iPad, and Apple Watch. They cannot, in fact, make the most out of Apple products because they don’t know how to. But let us tell you, it is not your fault – it’s the result of Apple’s security-first design and closed ecosystem.
Here’s the good news: with the right approach, you can master these devices within a week!
This guide explores the biggest struggles new users may face, why they happen, and how to master them in 5-7 days.
Biggest Struggles New Users Face
Below are some struggles that users are most likely to face when they are new.
iOS and macOS Navigation Can Be Confusing
When you switch from Android or Windows, the transition can be very confusing. Mostly due to the different user interface, which most new users find complicated at first.
Switching to iPhone
What happens:
You tap the screen expecting a back button, but it’s not there. You swipe left to go back, but nothing happens. The settings menu looks completely different from the one on Android.
Why it happens:
iOS uses tap-based navigation, whereas Android uses a button-based system. The company removed the physical back button back in 2007 to rely on gestures instead.
Real example:
To go back in Safari, you must tap the top-left corner (shows “< Safari”) or swipe right from the left edge. Android users expect a back arrow at the bottom.
Fix timeline:
It takes roughly 2-3 days of practice to adapt to it.
Switching to MacBook
What happens:
Basically, macOS doesn’t have a Windows-style menu bar on the top-left corner, which takes time getting used to. Secondly, there’s no “Start” button, making the Dock at the bottom feel very unfamiliar. Thirdly, Force Quitting apps can no longer be done with a right-click; you need to know the keyboard shortcuts for it.
There are plenty more changes that you will notice with the transition, but these happen to be some of the most popular ones.
Why it happens:
macOS uses a menu bar at the top vs. Windows’ taskbar at the bottom. Throughout their device range, the company has removed physical buttons to simplify workflows.
Real example:
To close an app, you need to press Command + Q (don’t just click on the red X, which only closes the window). To Force Quit, you have to press Command + Option + Esc. You won’t find the good ol’ right-click menu there.
Fix timeline:
Again, it will take 2-3 days of practice to get used to.
2. Apple ID and Account Setup is Different
Setting up your account and moving data from one device to another can be daunting, regardless of whether it’s iOS, macOS, Android, or Windows.
On iPhone:
What happens:
During setup, you get 5+ prompts, including Apple ID, Face ID, Find My iPhone, iCloud backup, and passcode. Plus, you can’t download apps without entering your Apple ID password, and this happens every single time, so you can imagine.
Why it happens:
The company’s security-first approach requires multiple authentication steps. Unlike Android’s 2-3 setup steps, Apple has 5 or more steps for security.
Real example:
You try to download WhatsApp from the App Store, but it blocks you with “Sign in with Apple ID” before allowing the download.
Fix timeline:
1-2 days
On MacBooks:
What happens:
When setting up macOS, you’re asked to sign in, set up Touch ID, enable Find My Mac, and configure iCloud.
Why it happens:
The company’s security-first approach requires multiple authentication steps across all devices. Unlike Windows’ 1-2 step setup, macOS has 4+ steps.
Real example:
You open the App Store, but it blocks you with “Sign in with Apple ID” before allowing you to download anything.
Fix timeline:
1-2 days.
3. The Apple Ecosystem (iCloud, iMessage, AirDrop, Handoff)
The invisible ecosystem keeps all your devices connected. While this is a huge benefit, it might be confusing and quite troubling for new users.
What happens:
You take a photo on your iPhone, and it suddenly appears on your Mac. You copy text on your iPhone and paste it on your iPad. You draft an email on your MacBook and finish it on your iPhone. You don’t know how this happened, and you sit there confused.
Why it happens:
Ecosystem features work silently in the background. iCloud syncs automatically, AirDrop detects devices nearby, and Handoff connects apps across devices without manual setup. Unlike Android/Windows, which need manual data transfer across devices via Bluetooth, OneDrive, on Apple devices, it all happens automatically.
Real example:
Photos appear on Mac in less than a minute without you having to do anything. Android/Windows users expect manual file transfer via USB, Google Drive, or OneDrive. You draft an email on iPhone Mail, and it shows as “drafting” on MacBook Mail almost instantly.
Fix timeline:
Roughly 3-5 days.
4. No File Explorer
For iPhones, they don’t have a file explorer, so file management can be complicated for some. Similarly, MacBooks are also nothing close to your Windows laptop, so you can’t access files easily.
On iPhone:
What happens:
You download a PDF, but can’t find it. There’s no “Downloads” folder like Android. You open the Files app, but it's nothing like your old phone.
Why it happens:
iOS uses the “Files” app vs. Android’s File Manager. Apple hides file structure to simplify the experience, which rather confuses the user.
Real example:
PDFs are saved in Files > On My iPhone > Downloads, unlike the visible “Downloads” folder on Android.
Fix timeline:
2-4 days
On MacBook:
What happens:
You open Finder and don’t see a “C:” drive. Downloads, Documents, and Desktop folders are also in your user directory, not system-wide. You can no longer easily access system files like you used to on Windows.
Why it happens:
macOS uses Finder vs. Windows’ File Explorer, both having a different directory structure (also, it’s user-focused, not system-focused). The company hides file structure to simplify the experience, but this confuses power users.
Real example:
You will find your Documents folder at ~/Documents (your user directory), not C:/Documents. System files are in ~/System, which is locked by macOS for security reasons.
Fix timeline:
2-4 days
5. App & App Store Differences
You cannot download applications from third-party app stores, and even if you figure out a way to download them, there will be compatibility issues. The closed macOS ecosystem, intended to secure users, can seem like a disadvantage for newbies.
On iPhone:
What happens:
You cannot install apps from outside the Apple Store. Widgets are limited and, unlike on Android, you can’t change your launcher or icon pack.
Why it happens:
The closed ecosystem prioritises security over flexibility. Android allows 3rd-party app stores, like the Google Play Store and APK files, compared to iOS, which only allows the Apple Store.
Real example:
No Google Play Store, no launcher options like Nova Launcher, and limited widgets can be placed (lock screen and home screen).
Fix timeline:
1 to 3 days (time taken to adjust)
On MacBook:
What happens:
Many apps are Mac-specific and don’t work on Windows. Similarly, some Windows programs (like certain games, enterprise software, or .exe files) aren’t available on macOS.
Why it happens:
The simple answer to this is that macOS uses .app files whereas Windows uses .exe files.
Real example:
Adobe Photoshop is a .exe file. To run it on MacBooks, you need the macOS version. Some games like Call of Duty may not run on Mac. Microsoft Office works, but some enterprise tools are not compatible.
Fix timeline:
1 to 3 days (time taken to adjust)
Why These Struggles Happen
Let’s get to why the newbies face what they face – the real reasons.
1. Apple Prioritises Security Over Convenience
Unlike Android’s 2 to 3 steps of authentication, Apple has a foolproof, more than 5-step process for both iPhone and MacBooks. To give you an example, iPhone has Face ID+ Touch ID, Apple ID password, Find My iPhone, iCloud backup, 6-digit passcode.
As for MacBook, it has Touch ID, Apple ID password, Find My Mac, iCloud backup, password and FileVault encryption. While it does make your device more secure, it adds more complexity.
2. Less Customisation Options
To keep the user interface simple and clutter-free, these devices are designed to have fewer customisation options. iOS has fewer customisation options than Android, and macOS has 50% fewer options than Windows.
- No third-party launchers or file explorers (Android has Nova, Microsoft, and Smart Launcher)
- No custom theme changes or icon packs
- Limited widget placement and taskbar customisation (iOS has only lock screen + home screen)
- Closed ecosystem (only Apple Store, no APK files, macOS only supports Apple-approved hardware)
Initially, you might miss the customisation options, but with time, users get used to it and understand that this is done for their own ease of use.
3. Closed Ecosystem Design
The ecosystem is one of the biggest advantages of being an Apple user, but it requires you to own 2 or more devices to make the most out of it. That said, initially this might be confusing for some users, as when you type a message on your iPhone and it appears on your tablet or notebook.
It is, however, a huge plus for professional users who wish to save their emails and documents and be able to continue them from where they left off.
How to Overcome These Struggles (iPhone + MacBook)
On iPhone:
1. Learn swipe gesture shortcuts
- Swipe Right = Back
- Swipe Up = Home
- Swipe Down = Search
2. Customise Control Center for quick access
- Go to Settings > Control Center
3. Enable Face ID + Touch ID
- Go to Settings > Face ID & Passcode
- Set up Siri for voice recognition and voice commands
- Go to Settings > Siri & Search > Turn on “Hey Siri”
4. Turn on Find My iPhone
- Go to Settings > Privacy & Security > Find My
On MacBook:
1. Memorise 5 essential shortcuts
- Command + Q (Quit)
- Command + W (Close)
- Command + Space (Spotlight Search)
- Command + Tab (Switch Apps)
- Command + Option + Esc (Force Quit)
2. Customise Dock for quick access
- Go to System Settings > Desktop & Dock
3. Set up Touch ID for authentication
- Go to System Settings > Touch ID
4. Enable Find My Mac
- Go to System Settings > Privacy & Security > Find My
5. Enable iCloud Drive and Messages in iCloud
- Go to System Settings > [Your Name] > iCloud
Also, learn ecosystem features across all your devices. AirDrop, HandOff, Universal Clipboard, and Continuity Camera are some of the main ones you should focus on first.
Our Verdict:
This goes without saying that Apple users are more comfortable with their respective devices and Android and Windows users are more comfortable with their respective devices. The new shift takes time to get used to, but it's normal and temporary.
Learn the navigation gestures and shortcuts, complete your Apple ID setup, and test ecosystem features like AirDrop, Handoff, and Universal Clipboard. After week 2, you’ll be hooked and make the best out of your new device.